This guide will cover the process of creating a new interview in your RIVS account.
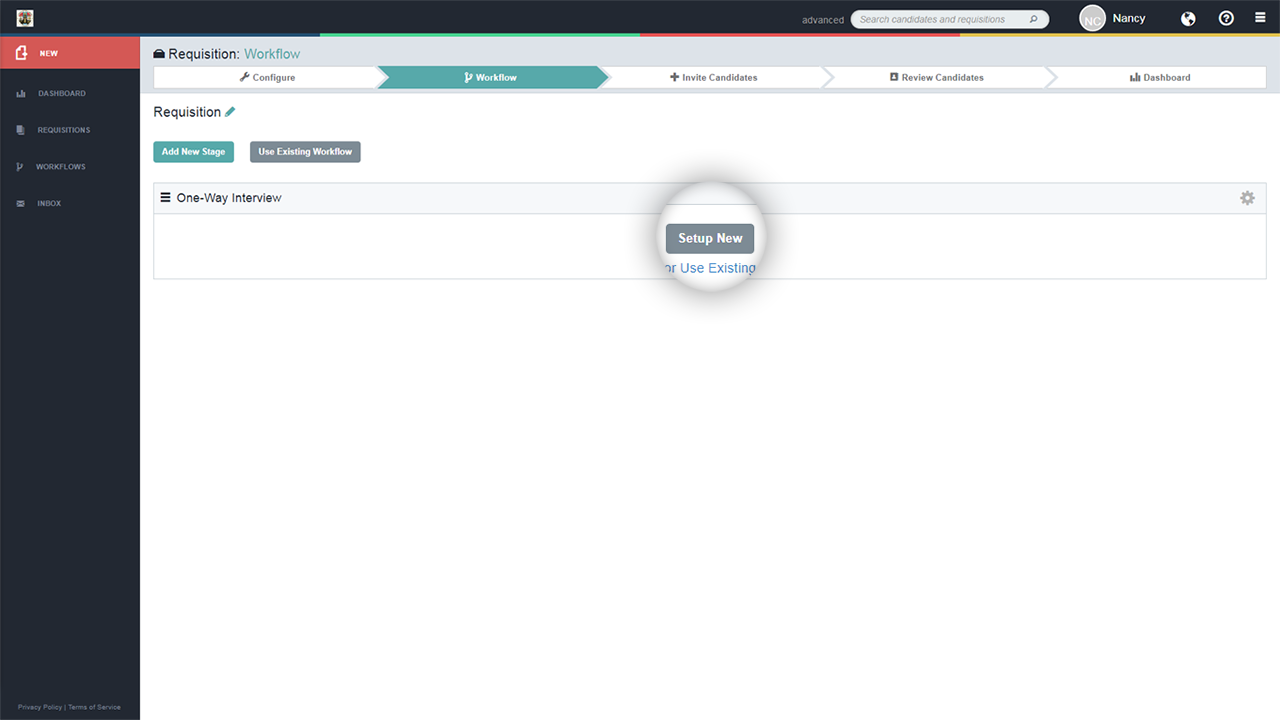
- From the requisition, click the Setup New button in the One-Way Interview Field.
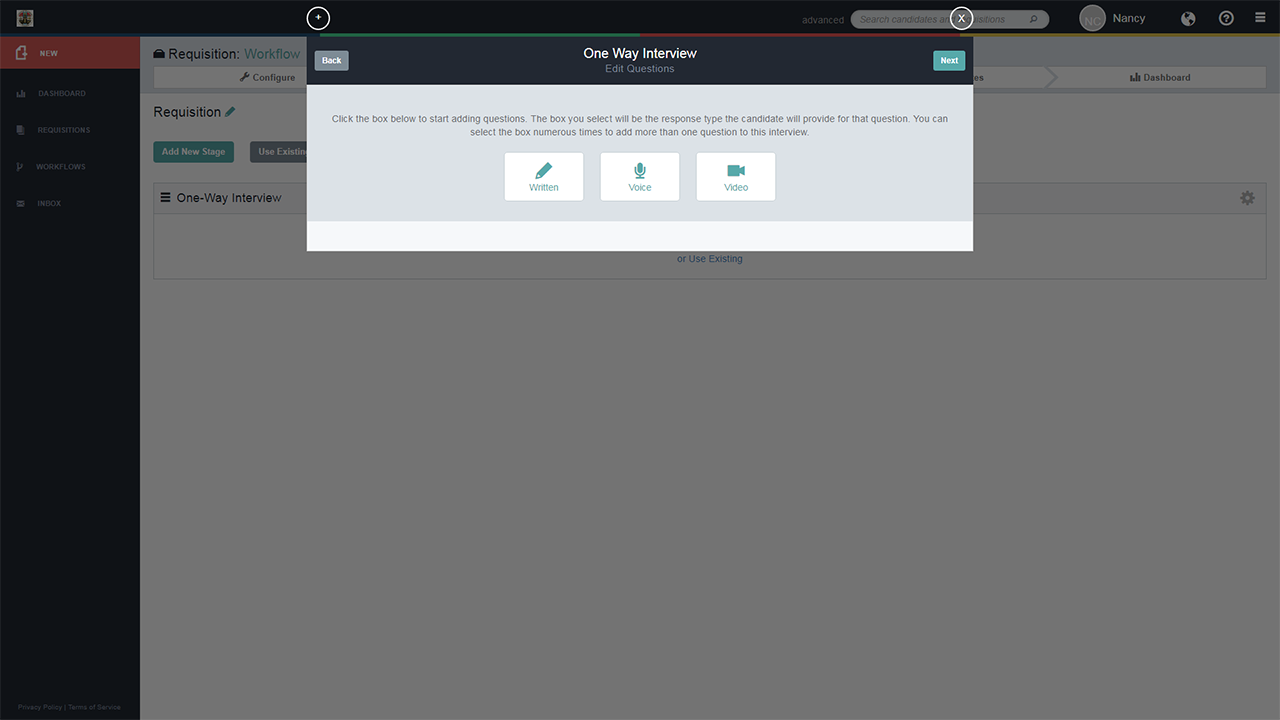
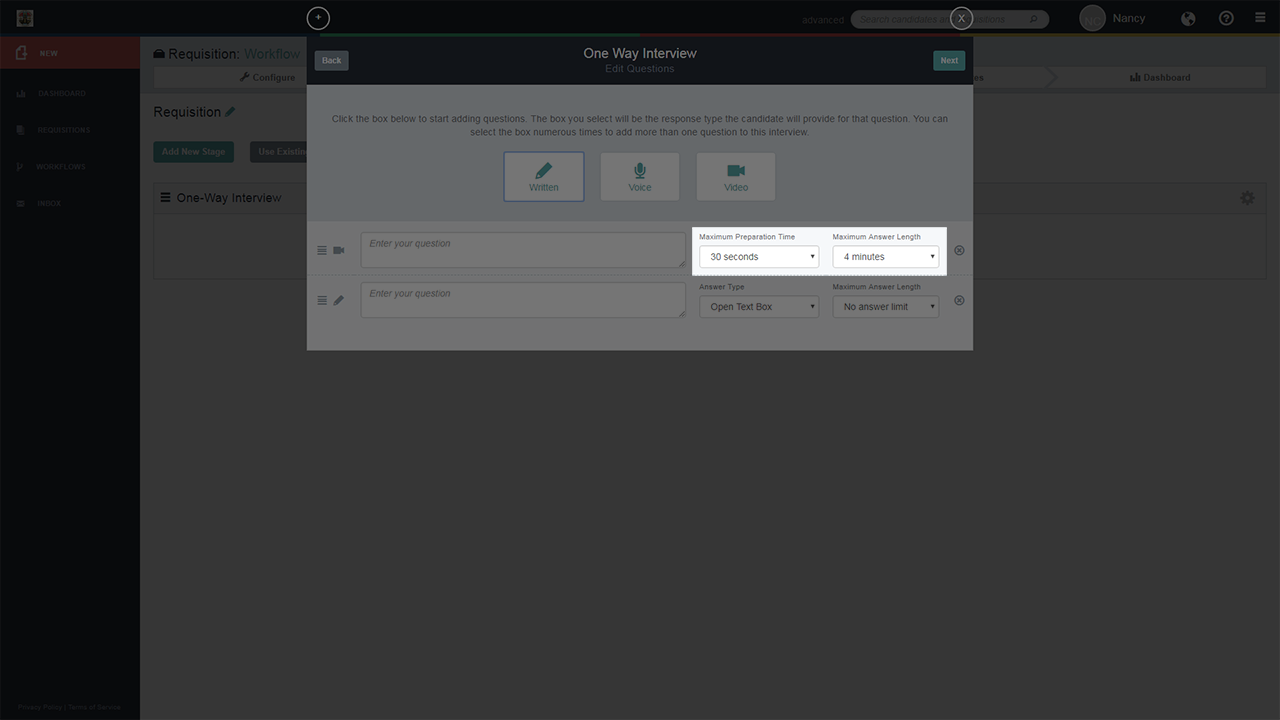
- This will prompt a window asking you to setup your One-Way Interview questions. You will have the option of requesting a Written, Voice or Video response(s) from your candidates or a combination of the three. Most clients are seeking a Video response.
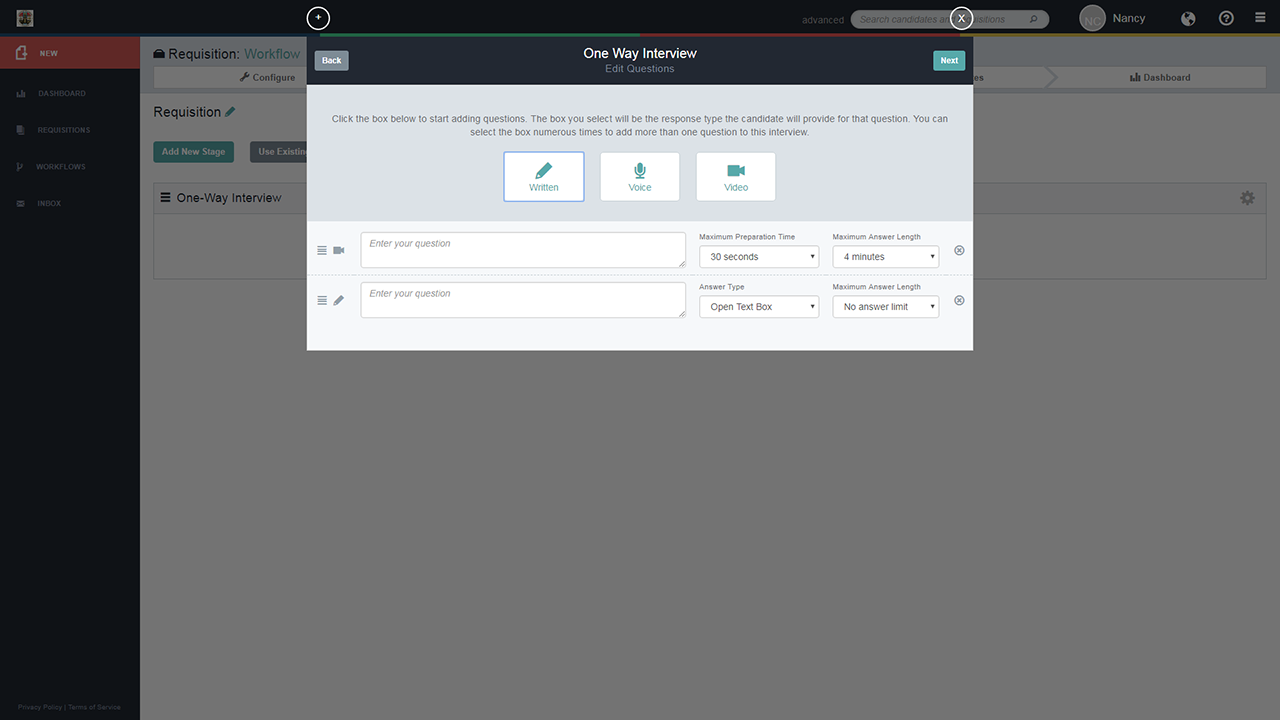
- To create your questions, click on the type of response that you would like to receive from the candidate. Add more questions by clicking on the type of response again.
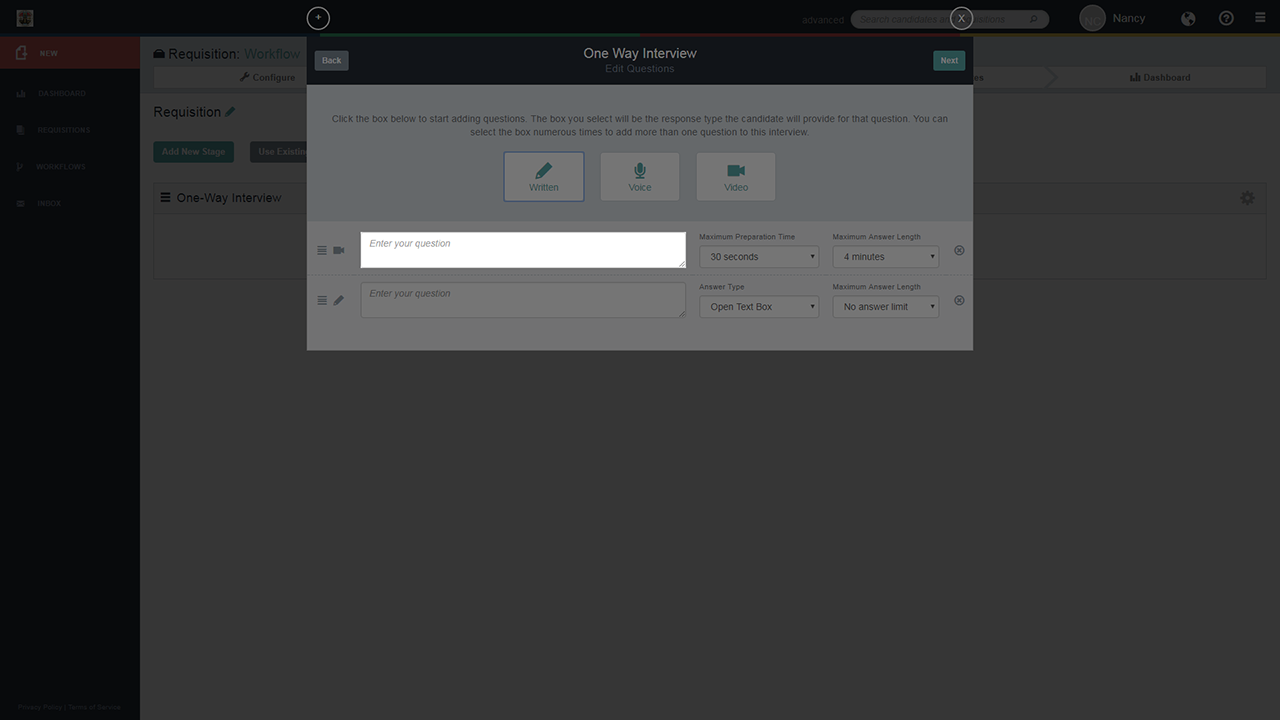
- For each question added, type the question text into the field labeled “Enter your question”.
- Adjust the “Maximum Preparation Time” and “Maximum Answer Length”. The “Maximum Preparation Time” is the amount of time the candidate has to prepare their response before the recording begins. The “Maximum Answer Length” is the amount of time the candidate has to respond to the question.
- At any point, the candidate can click “Record Now” when they are ready to start recording their response or “Stop Recording” when they feel their answer is complete.
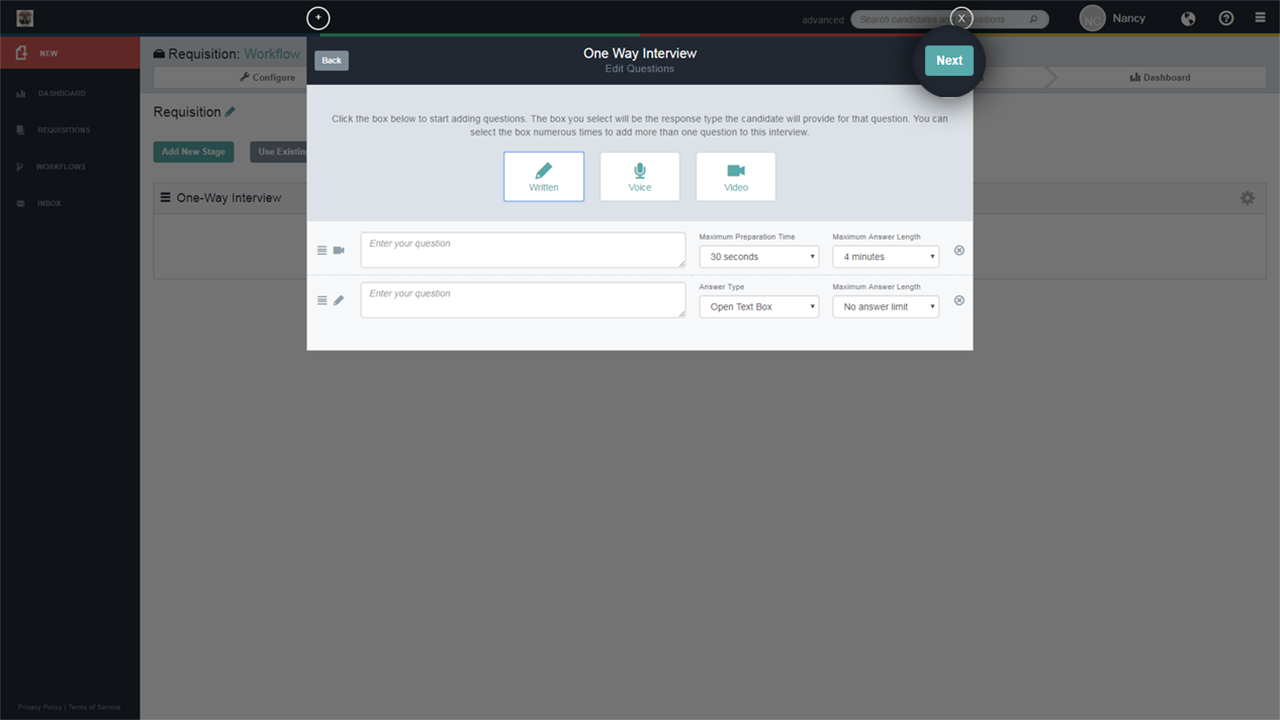
- Click “Next” to enable your settings.
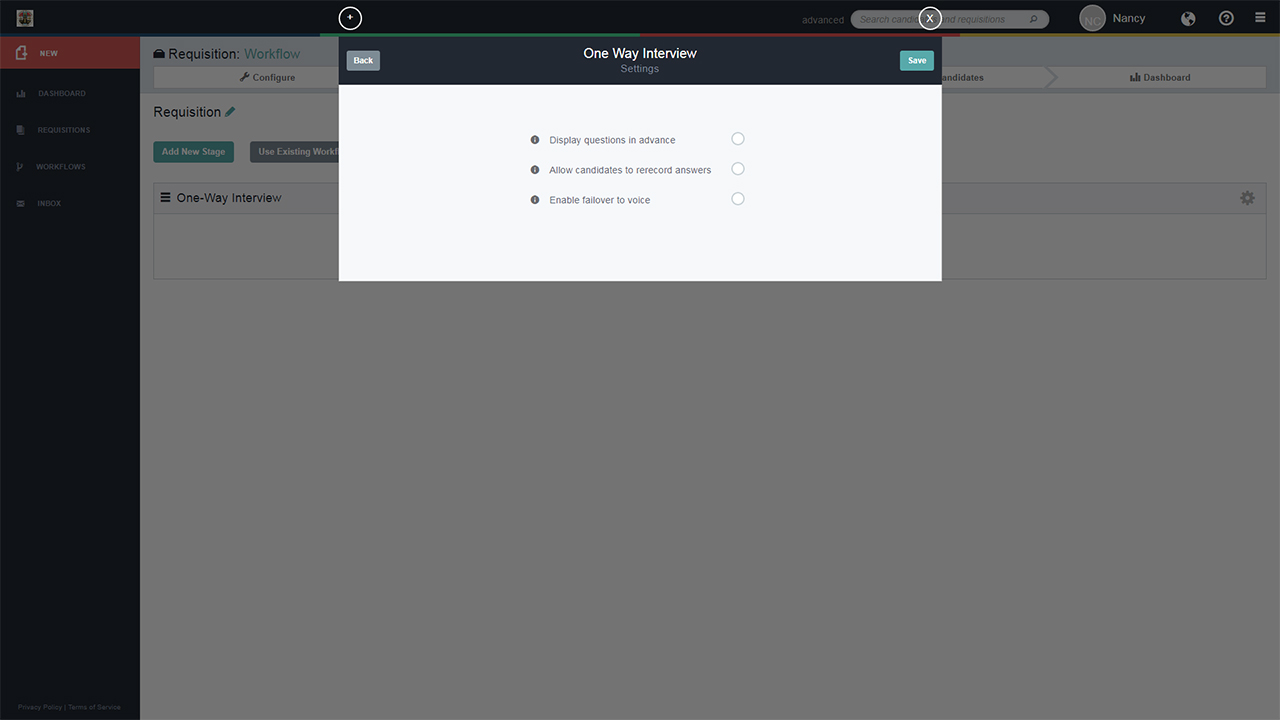
- You can enable the following settings, for your interview:
- Display questions in advance – Candidates will be able to see the questions before they begin the interview.
- Allow candidates to re-record answers – Candidates can re-record their answer as many times as they need to, before submitting their final answer.
- Enable failover to voice – Allows candidates that do not have access to a webcam, smartphone, or stable internet connection the ability to participate in a phone interview. Candidates would be asked the same questions in the same order, but your department would simply just receive a recorded voice response from these candidates.
- Allow mobile browser completion – Candidates have the opportunity to complete their video interview, using their mobile browser on their smartphone, instead of downloading the RIVS iOS or Android app. This will allow a candidate to save their responses to their phone before they are uploaded into RIVS.
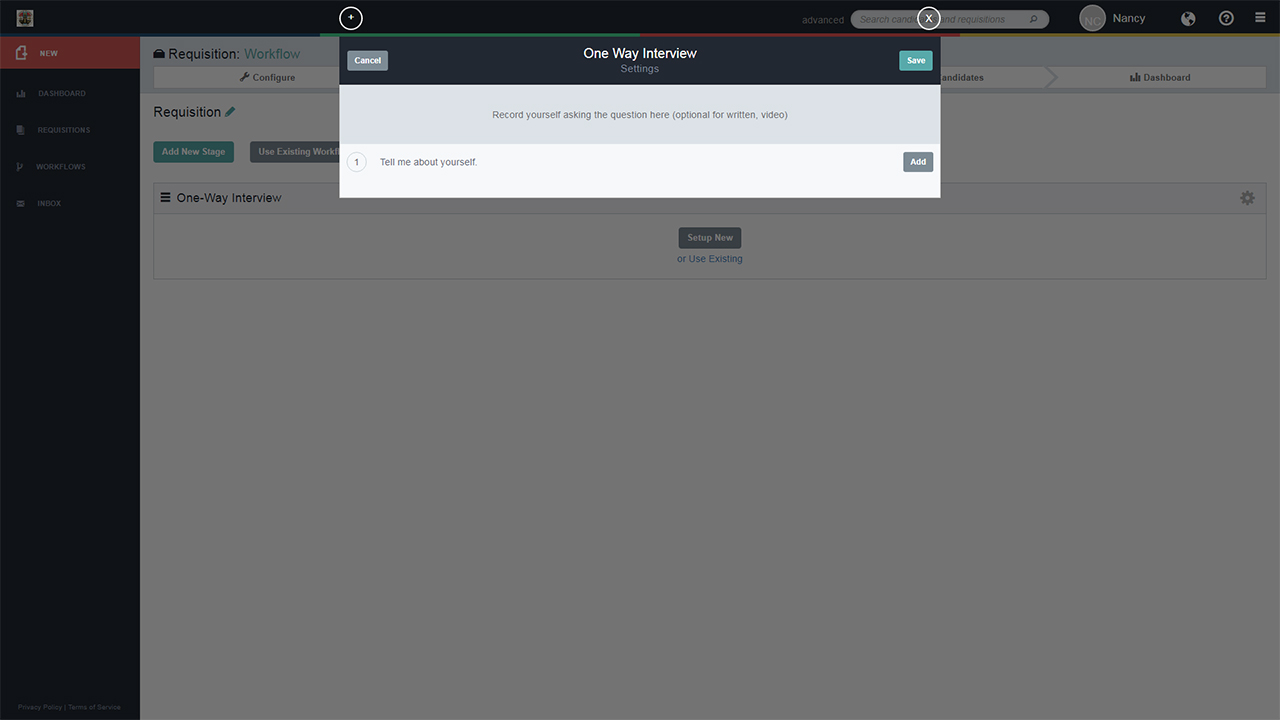
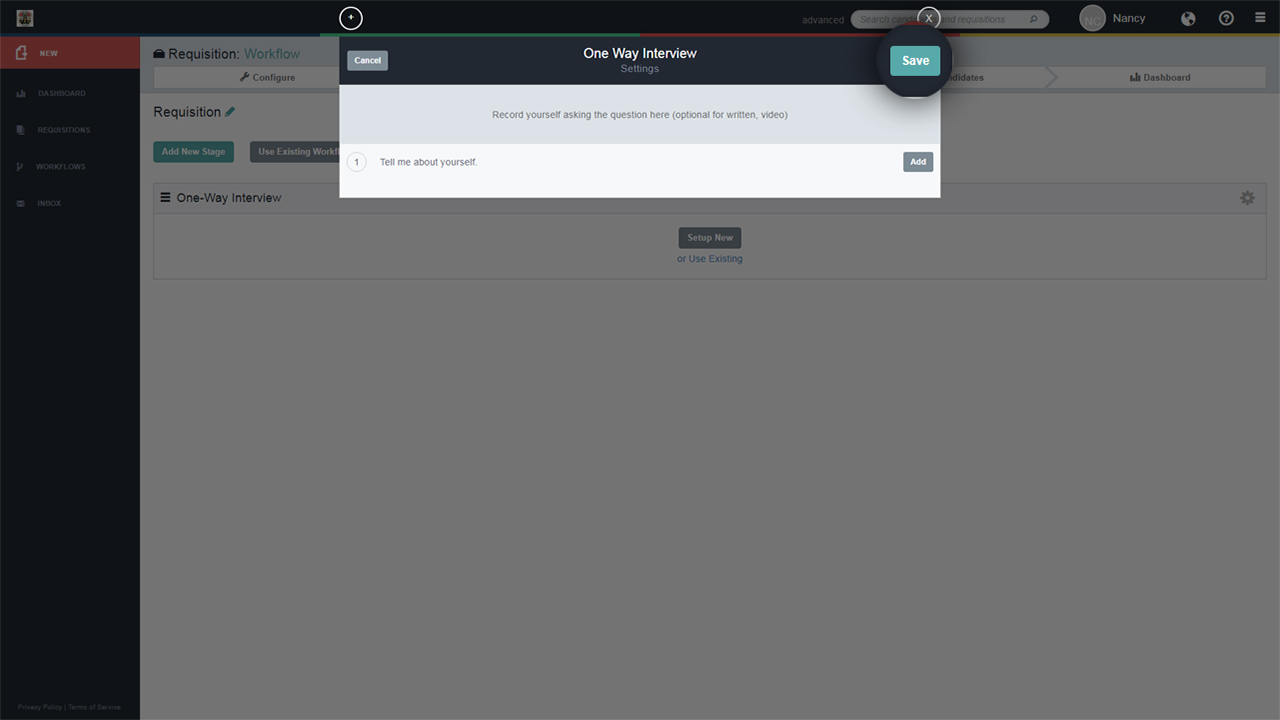
- In the next window, you will have the opportunity to add a video or voice recording to questions you’ve added to the interview. To add a recording click Add and follow the option prompts on-screen. If you would like to display your questions as text only, do not add a recording. Recording options include:
- Upload – Record the file, save it to your computer and upload it to RIVS.
- Download from URL – Upload a recording from a video hosted online.
- Record with Webcam – RIVS will access your camera and microphone on your computer and allow you to record a video of yourself asking the questions.
- Record with Microphone – RIVS will access your microphone on your computer and allow you to record your voice asking the questions.
- Record with Phone – RIVS will call you or you can call the number provided, follow the prompts and record your voice asking the questions.
- Mobile Device – Allows you to use your mobile device to record and upload the questions.
- Click Save.
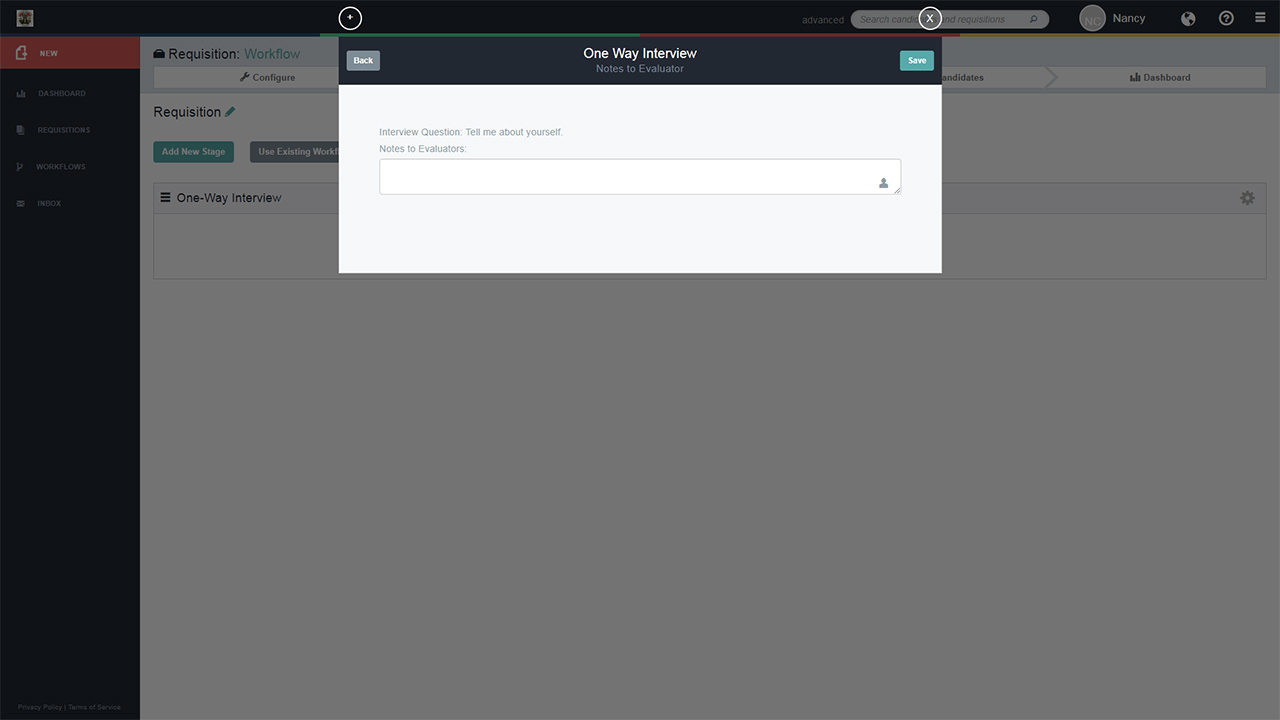
- Departments can use the Notes to Evaluator section to include the interview standards. The Notes to Evaluator will be visible to raters as they review candidate responses. After adding a note, click Save.
- Please note, that departments will need to utilize HTML code (for now) in order to add tables and edit the text (bold, underline). In order to incorporate HTML code into your “Notes to Evaluators” please send your Client Success Manager rep the HTML code. Your CSM rep will work with our tech team to have it added to your account within 48 hours.
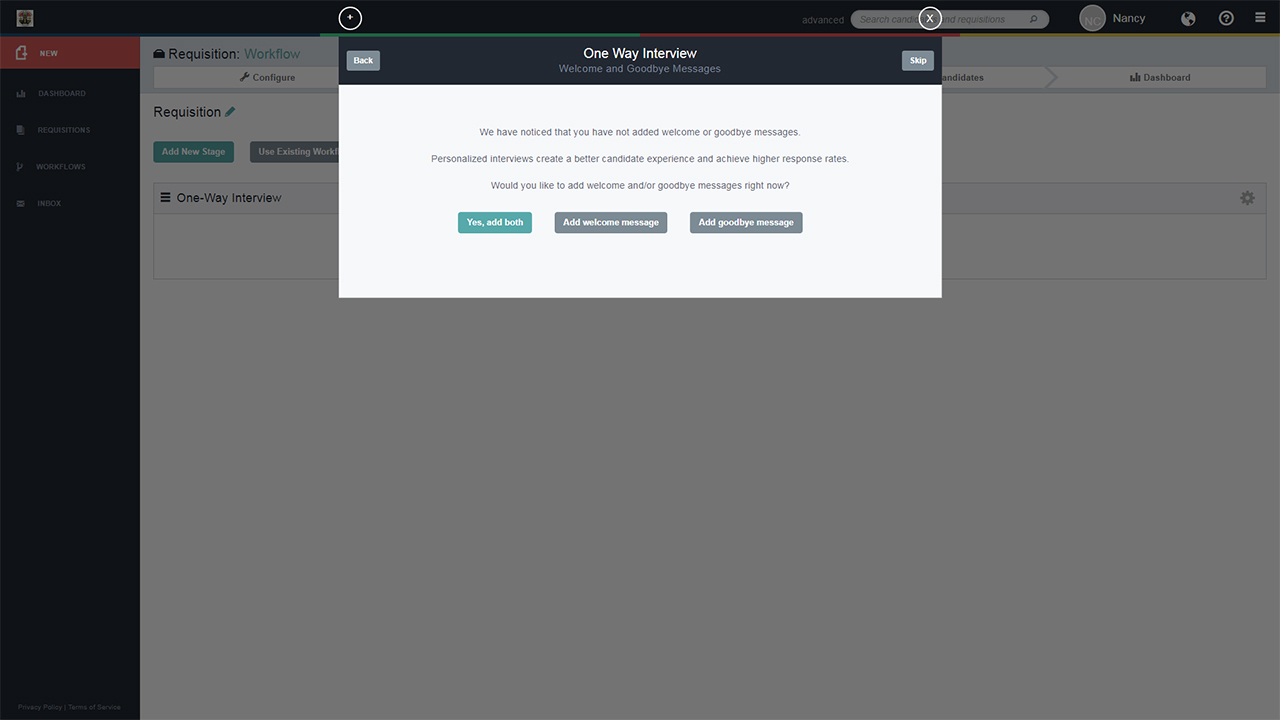
- Choose to add a Welcome Message and/or Goodbye Message and follow the onscreen prompts. This message (video or written) will play before and/or after the candidate starts their Interview. This is a great opportunity to set the tone for the candidate before they begin their Interview and thanking them when they complete the interview. This is an optional step, click Skip to save the interview without a Welcome/Goodbye message.
*Please note: Ensure that all settings (Questions, Notes to Evaluator, Record Questions, etc.) are established before you invite your candidates to ensure the settings are consistent for all. If you “Edit” or “Change” the One-way Interview Questions or Settings after the invitations have been sent, the system will not update the settings for previously invited candidates. Only new candidates added will be sent the updated version of the One-way Interview.

