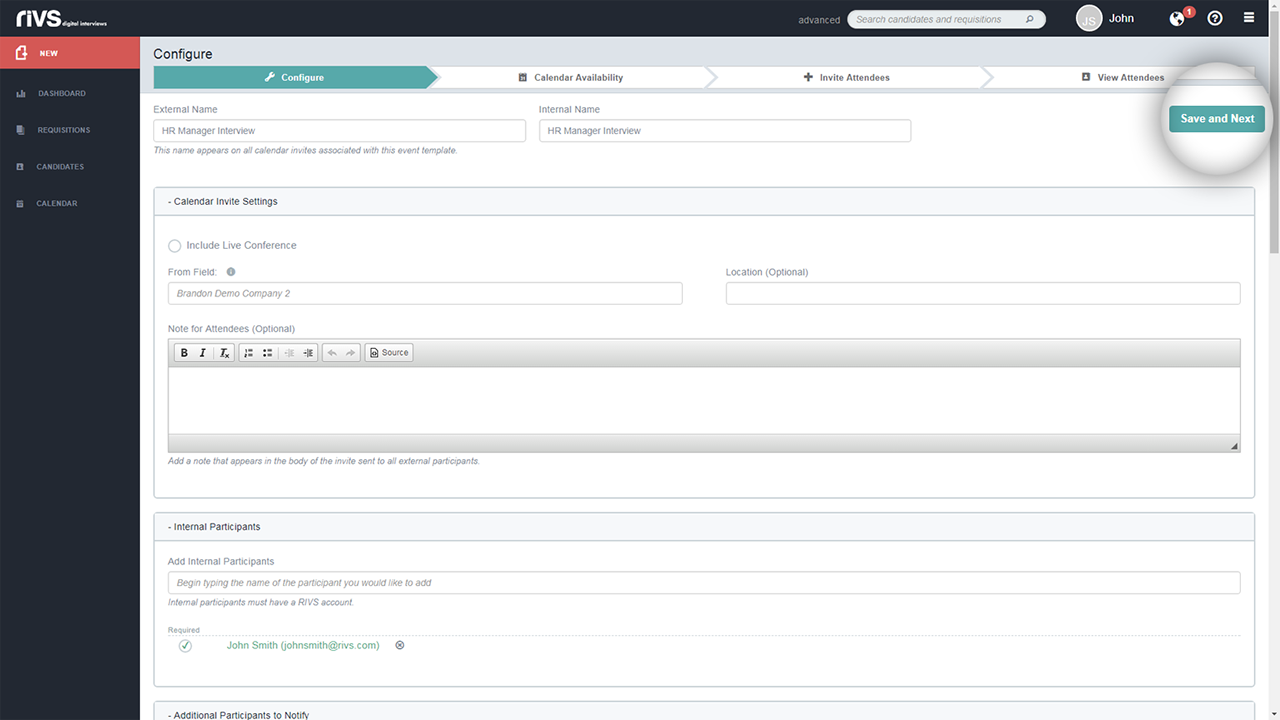
This guide will cover the process of configuring a fixed event template after it has been created in your RIVS account.
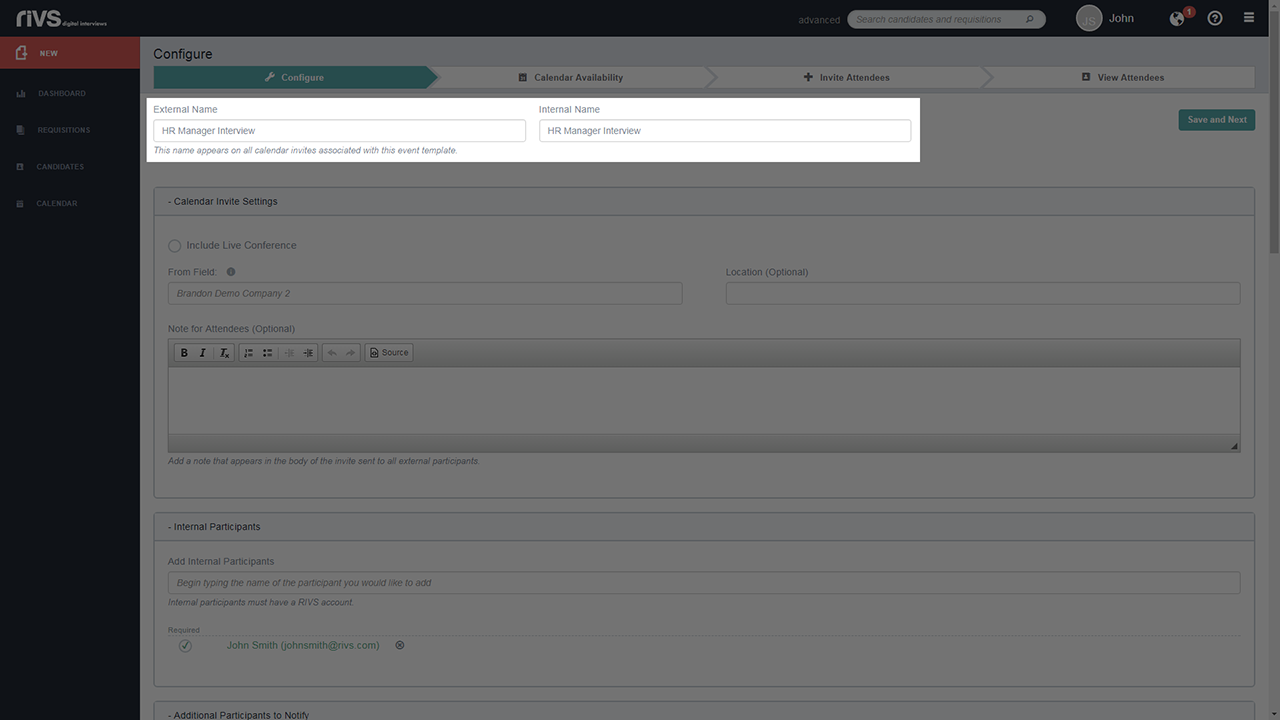
- Review and edit the External and Internal Name Settings.
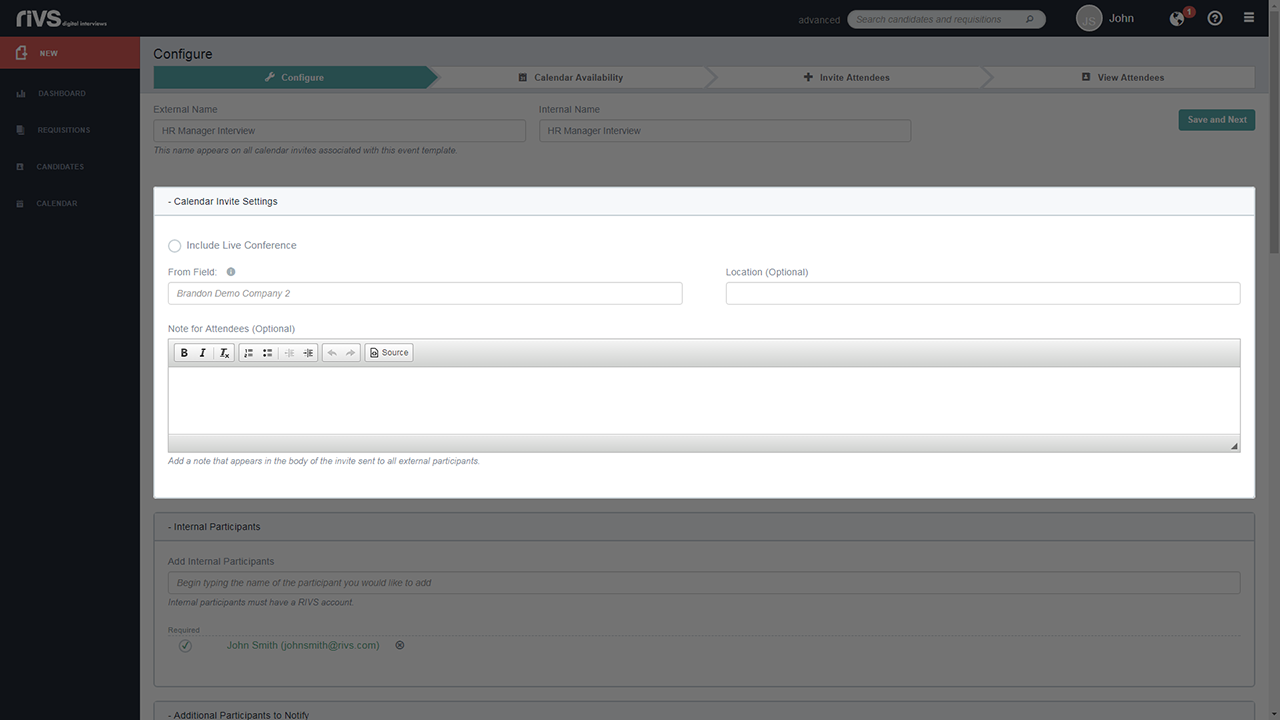
- In the Calendar Invite Settings section, choose the option of including/excluding a live conference, set a “From” email address, optional location setting, and note for attendees.
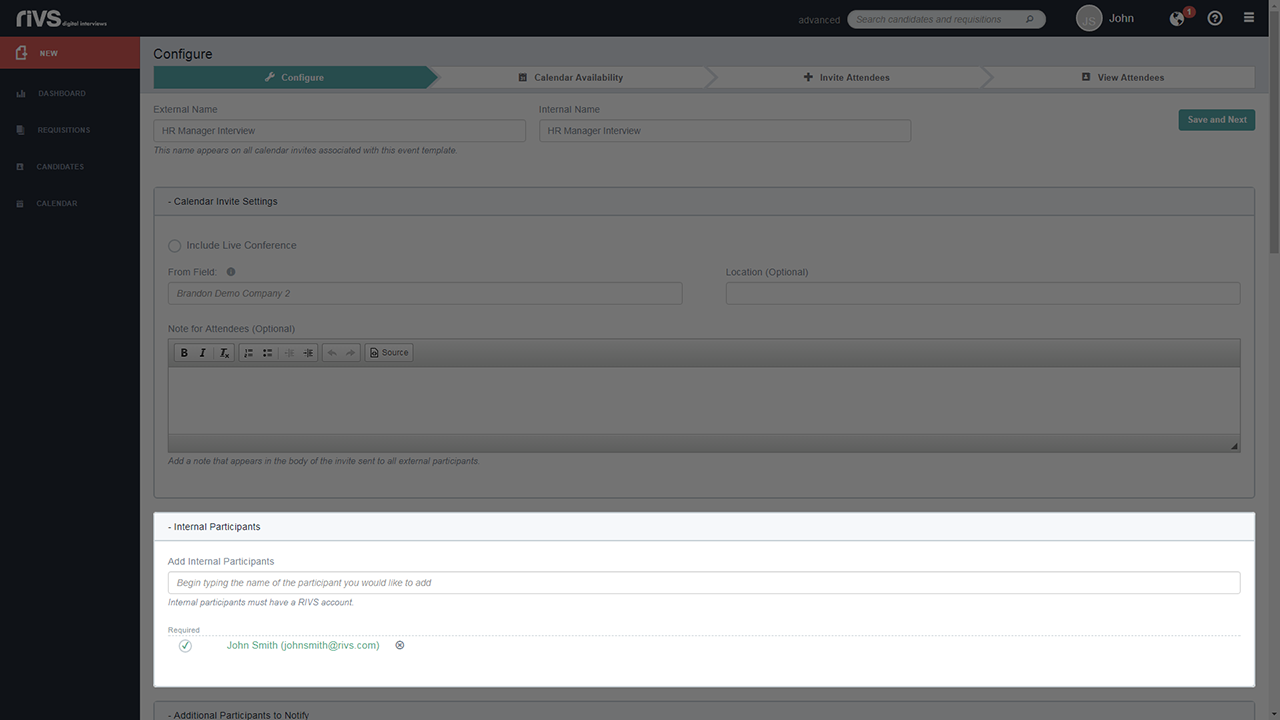
- In the Internal Participants section, add internal users to the event by typing and selecting the user in the Add Internal Participants field. Edit the required participation settings using the checkmark box next to usernames. Delete the user from the event by clicking the X button next to their name.
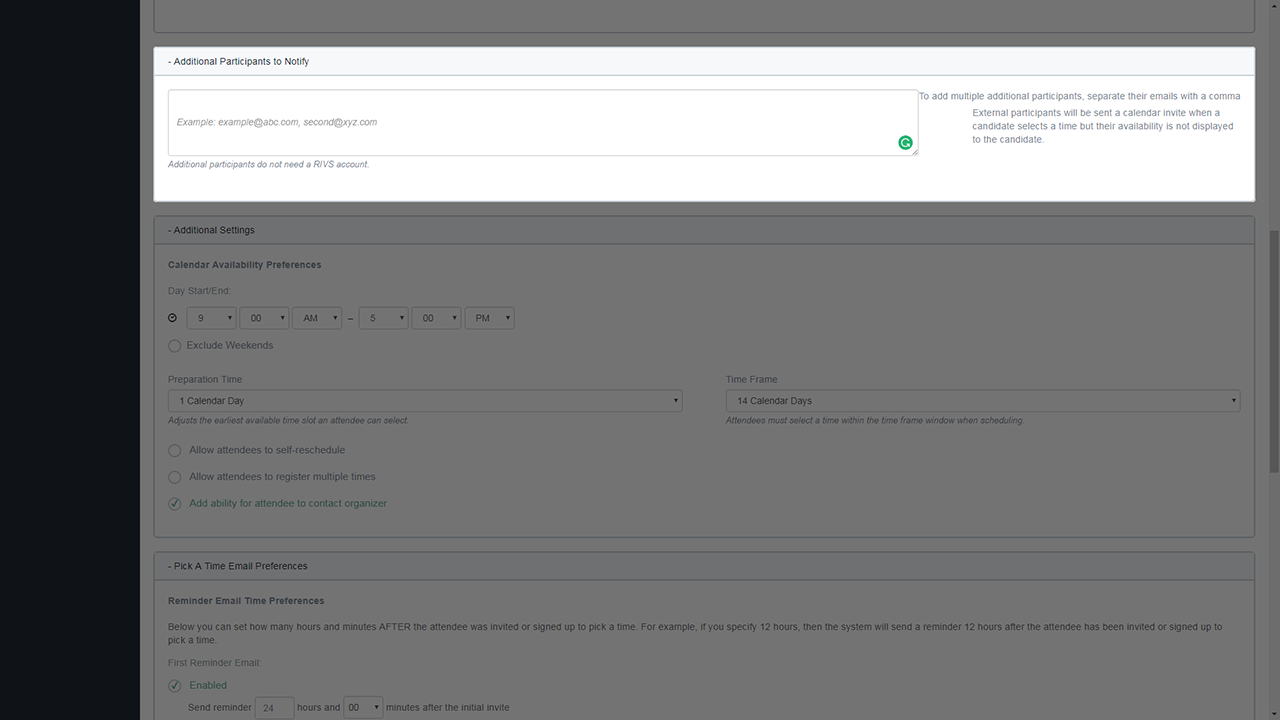
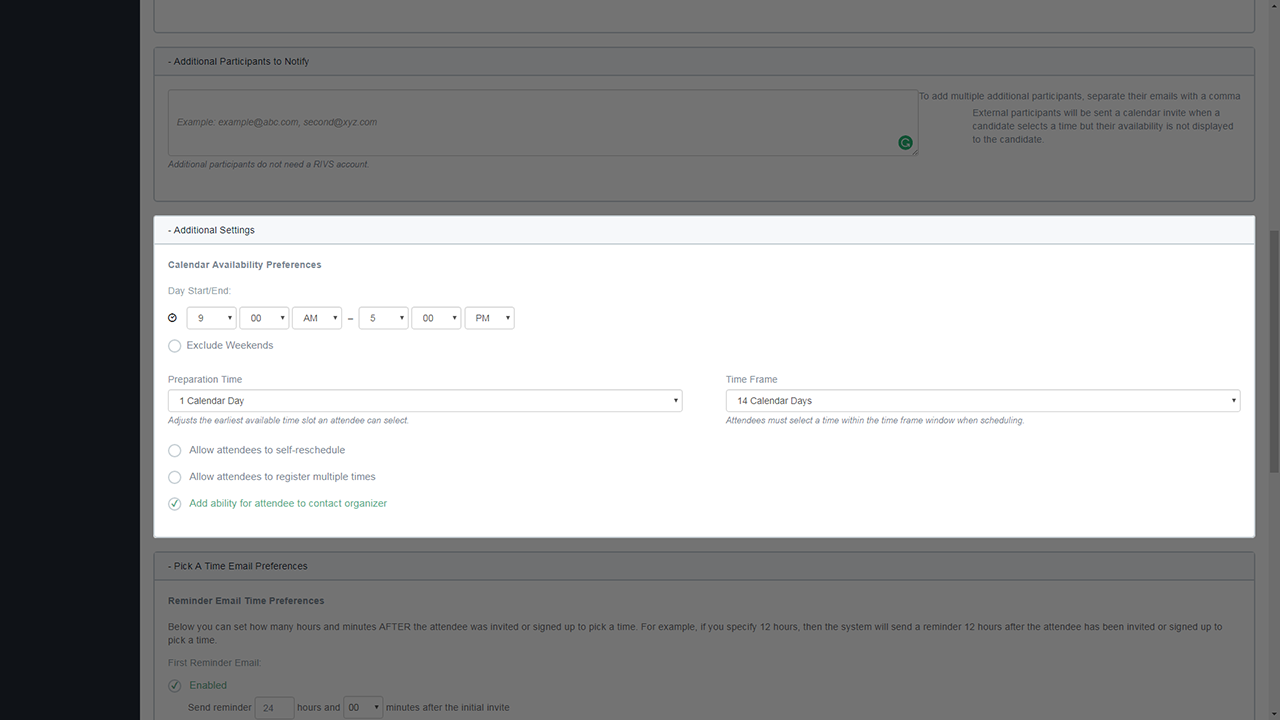
- Add additional participant email addresses into the email address field. Participants are individuals who need to be involved/notified about the event but are not designated as external attendees. The provided email addresses will receive an invitation email.
- Set your calendar availability preferences. Select a start and end time, weekend settings, preparation time, time frame, rescheduling options, multiple registration settings, and contact settings.
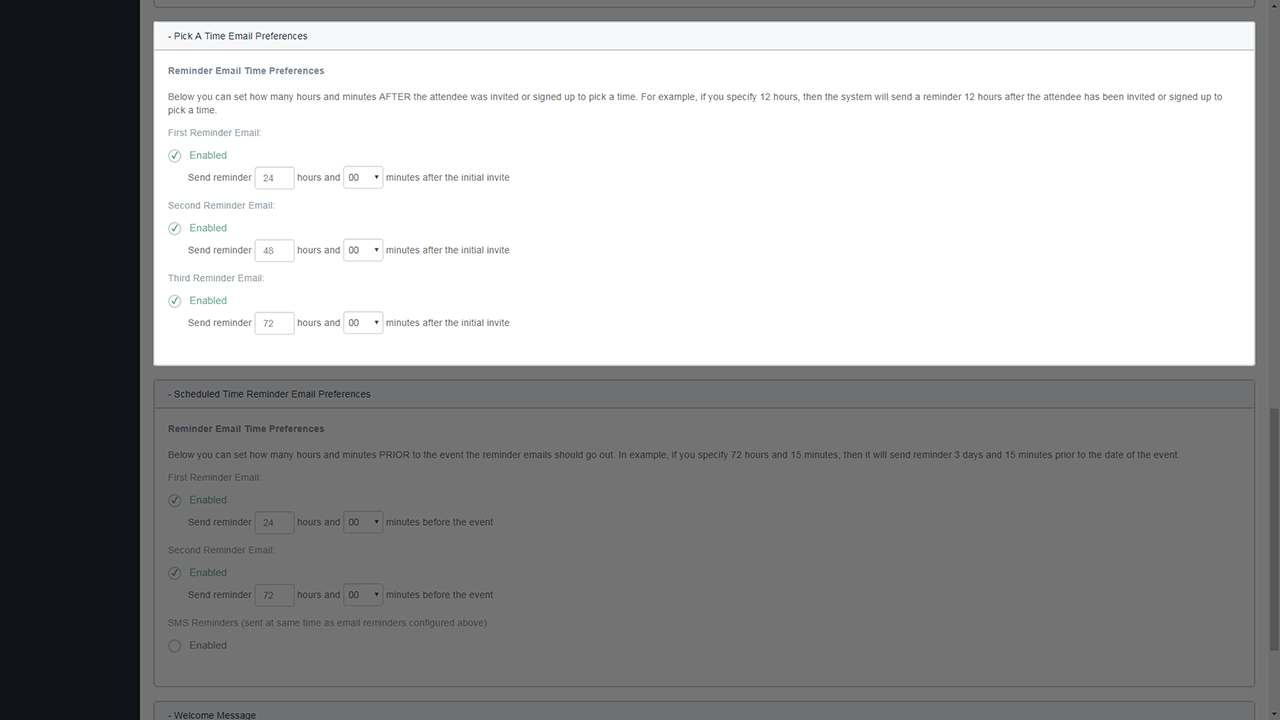
- Set the time preferences for an email reminding attendees to select a date and time for the event. Enable or disable first, second, and third reminder emails and select the time intervals for each email.
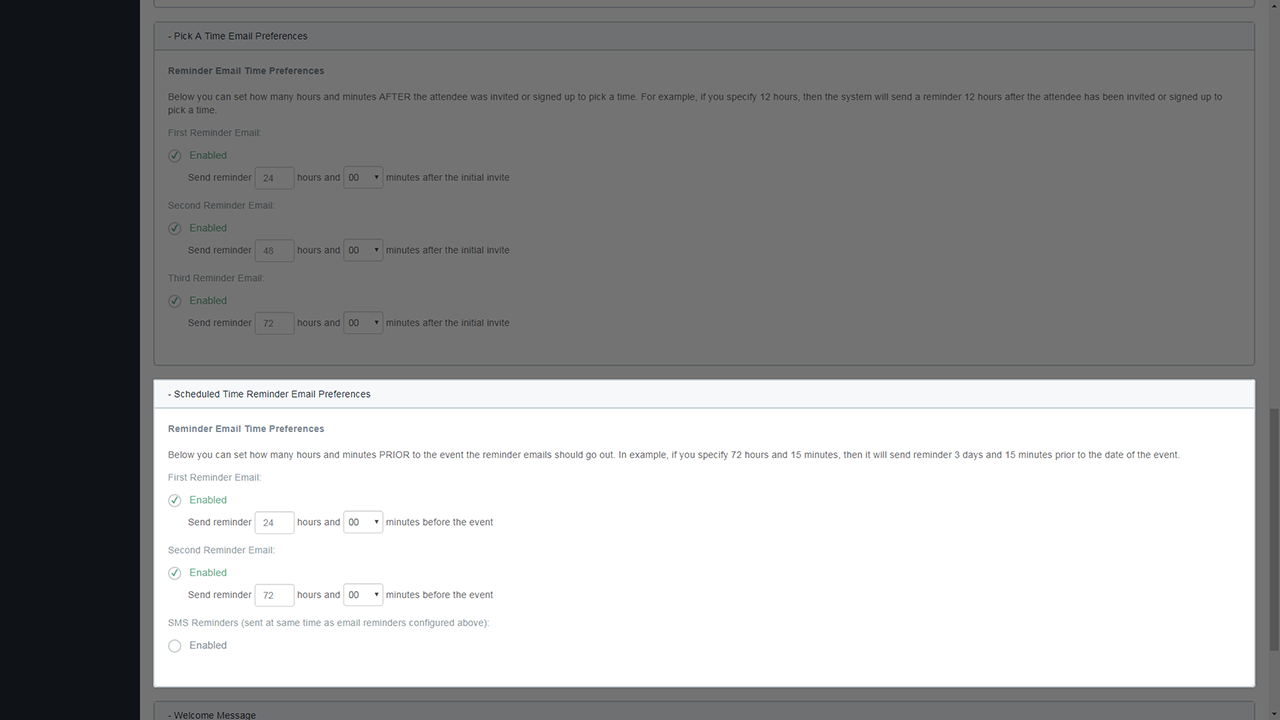
- Set the time preferences for an email reminding attendees about the event.
Enable or disable first, and second emails and select the time intervals for each email. Configure SMS reminders text messages.
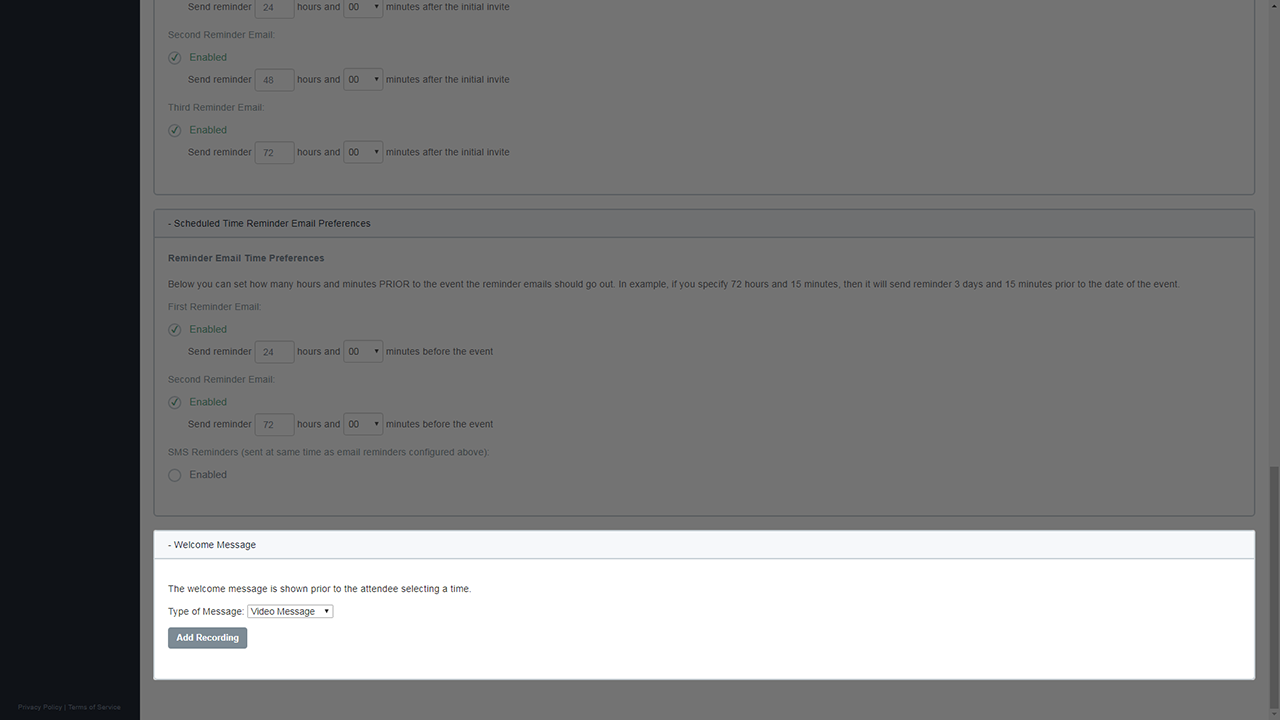
- Set a welcome message by selecting the type of message and recording or writing a welcome message.
- Click Save and Next to select your calendar availability.


