This guide will cover the process of creating a new Workflow Stage in your RIVS account. Workflow stages are used to organize your candidates and move them to different step in the interview process.
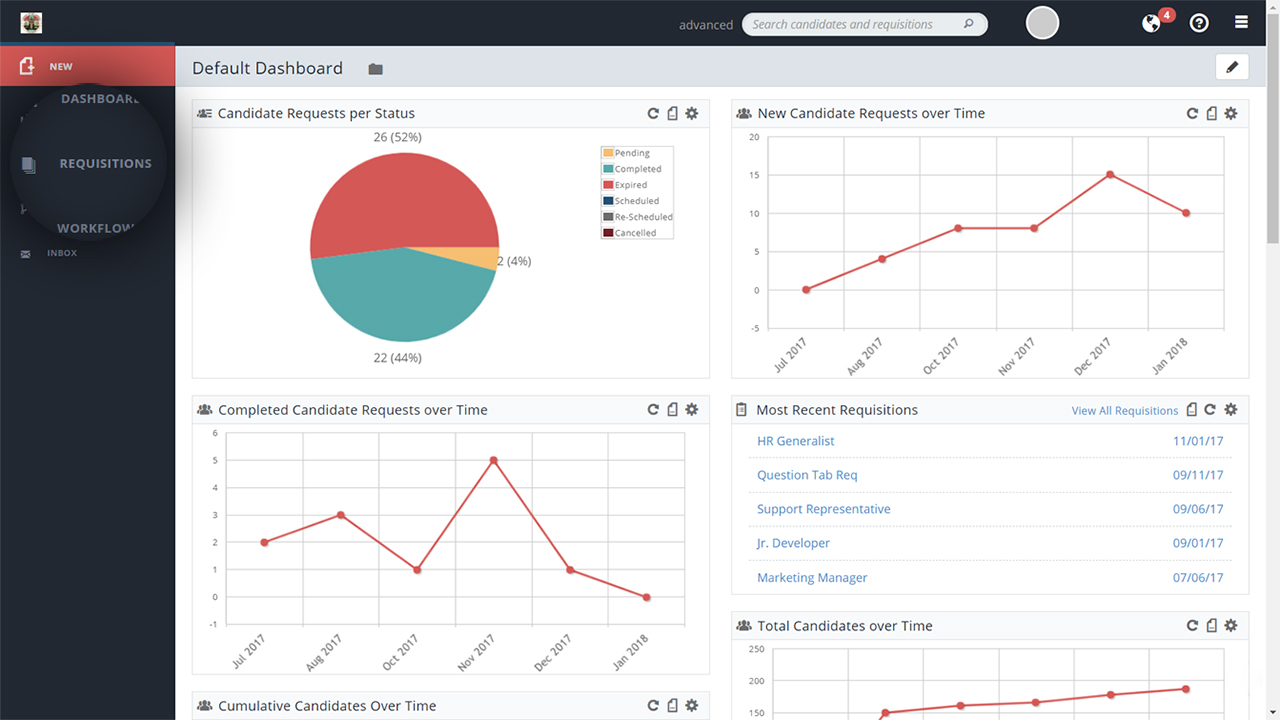
- From the dashboard, select the Requisitions menu.
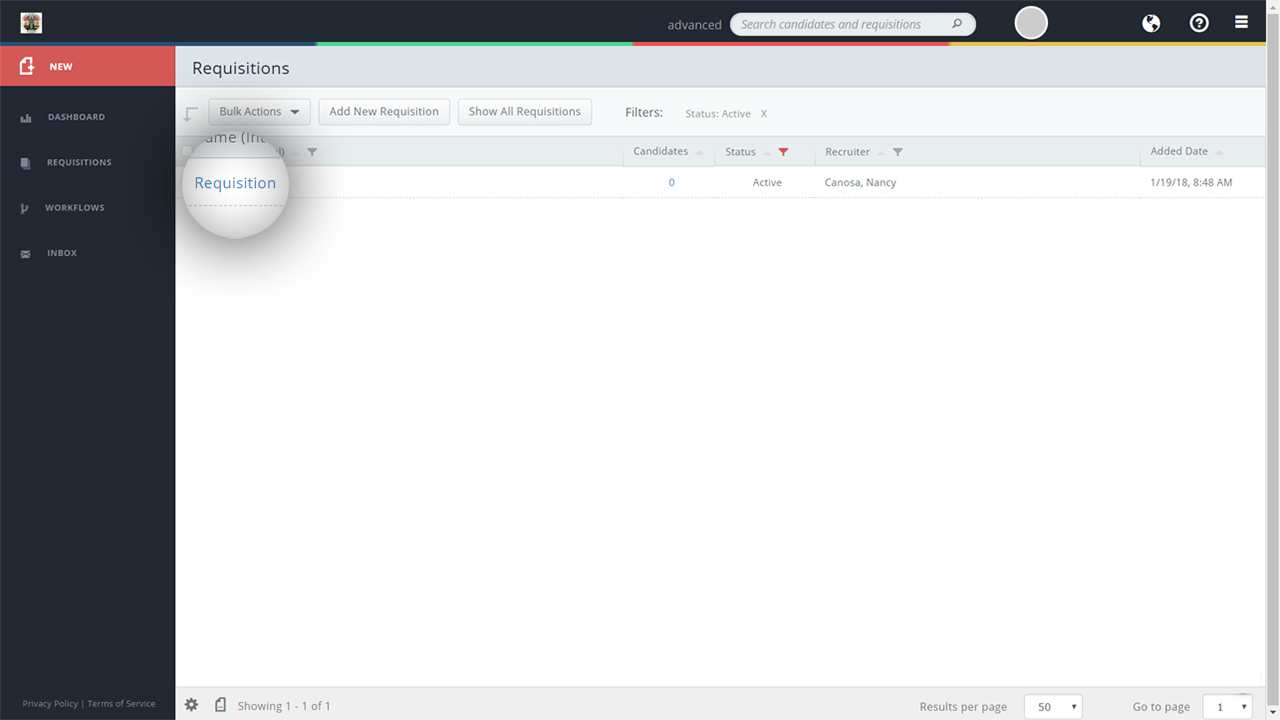
- Select the requisition containing the workflow you want to edit.
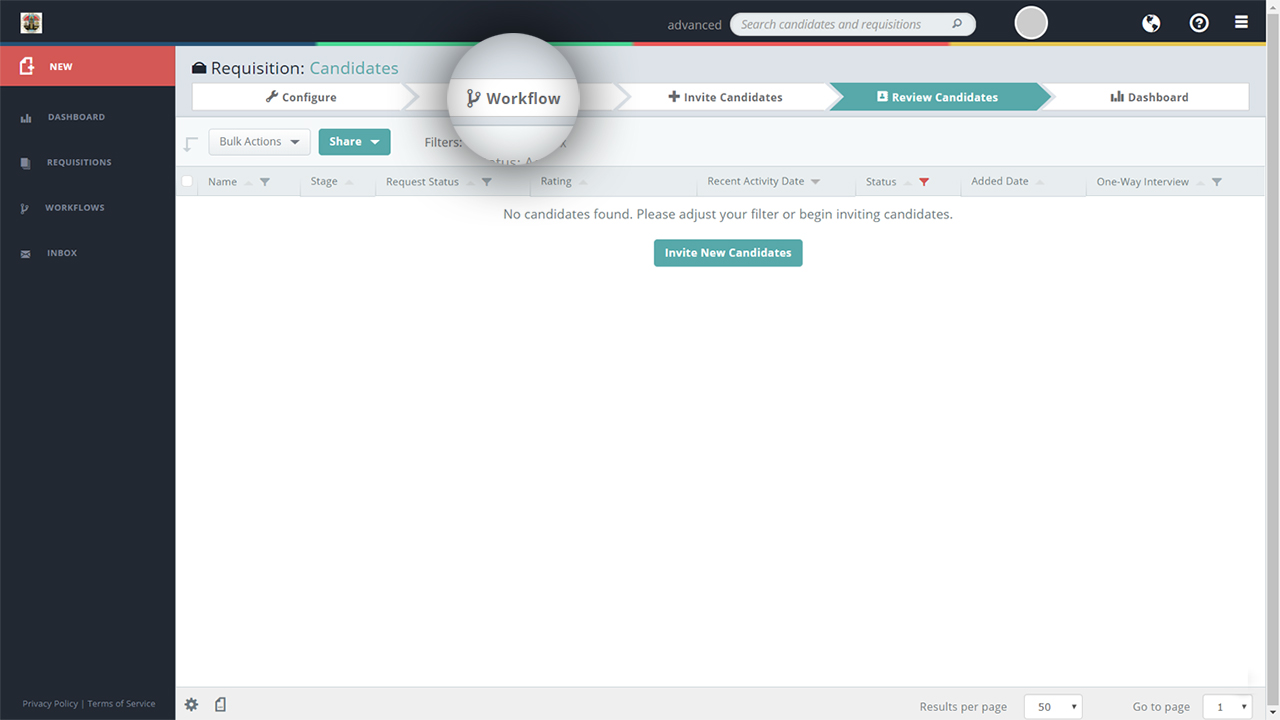
- Select the Workflow tab.
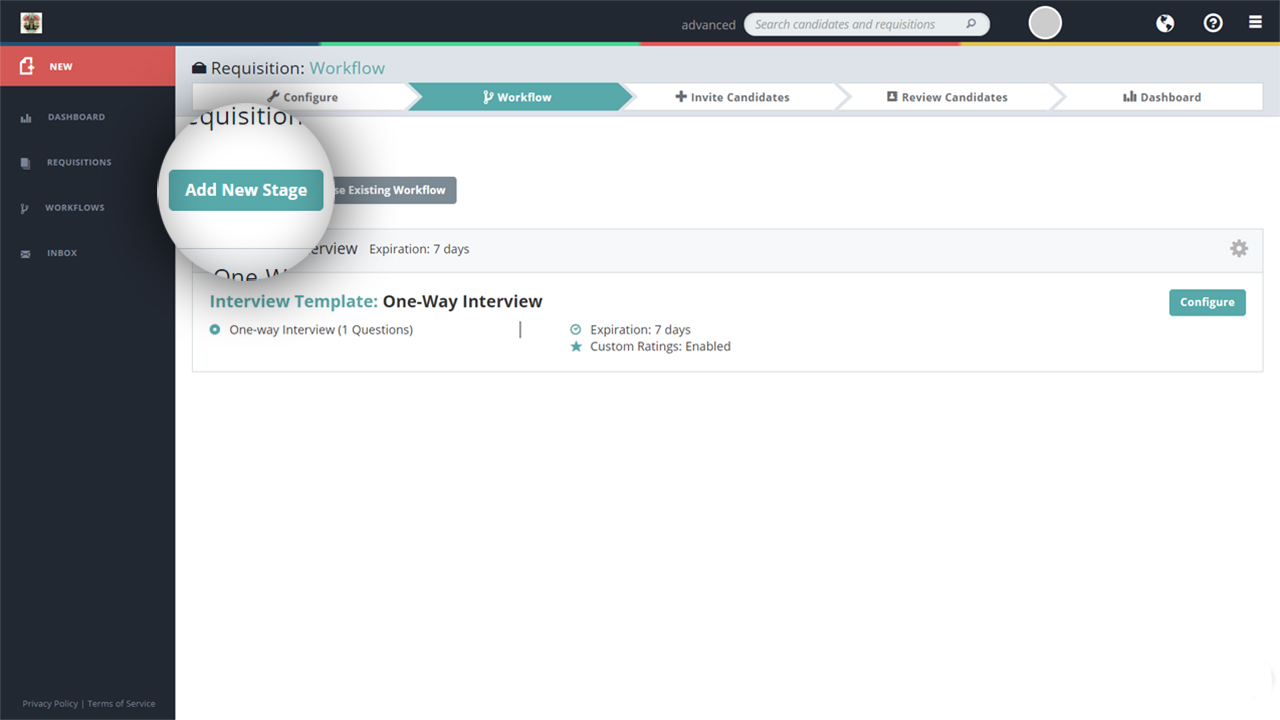
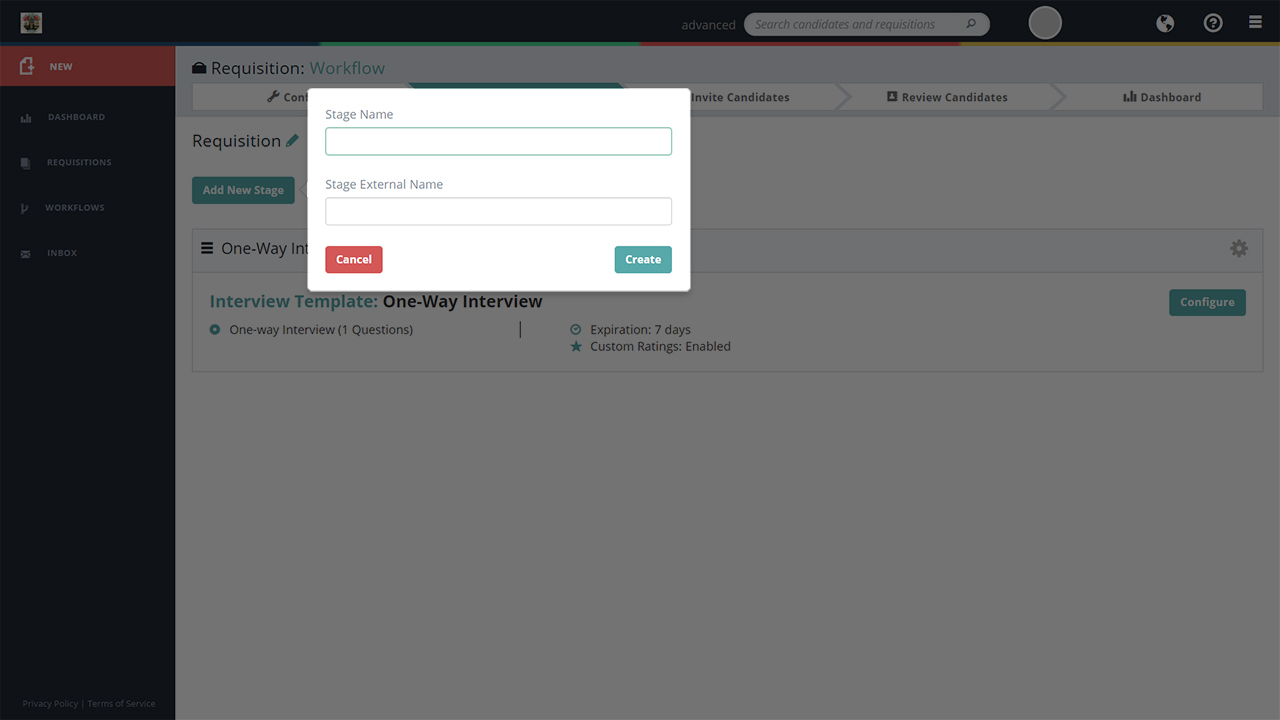
- From the Workflow tab, click the Add New Stage button.
- Add a Stage Name and optional External Stage Name if necessary, and click the Create button.
- The External Stage Name is the stage name that will be seen by candidates.
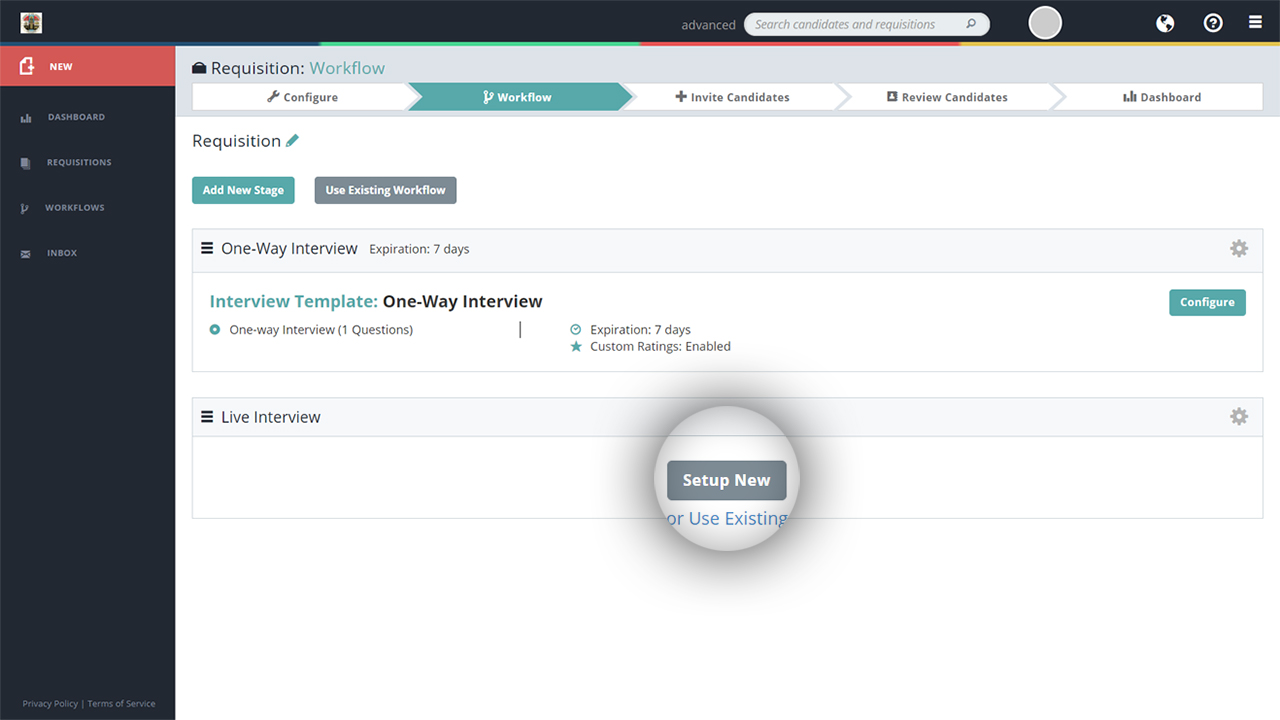
- With the new stage created, you can set up the action that needs to occur (e.g. send candidates to a list of raters to be rated) in this stage by clicking the Setup New button.
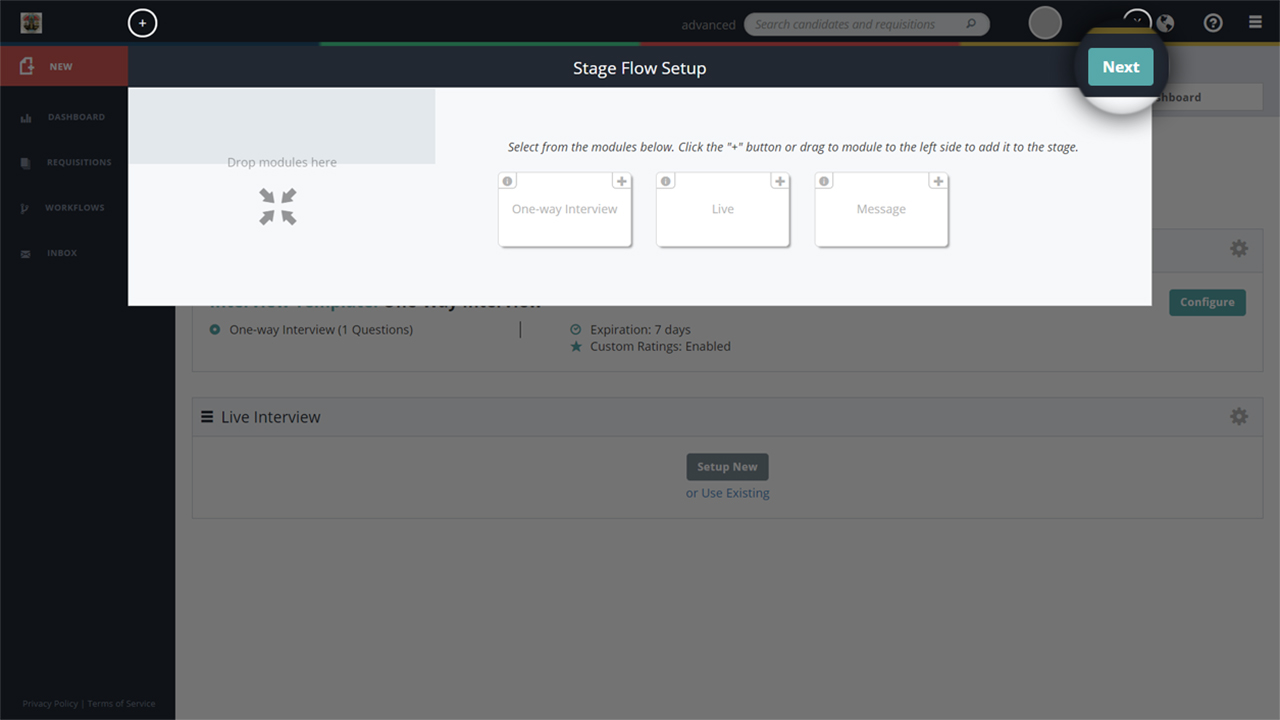
- Review the stage flow setup and click Next.
- With your workflow stage completed, review the Editing a Workflow Stage guide to learn how to edit a workflow stage.

